How to Supply Artwork for Printing (A Simple Guide for Non-Designers)
Clear, print-ready artwork means sharper logos, better colours, and faster production. But we know terms like vector, AI files, and resolution can feel like a foreign language — so here’s the calm, human explanation your customers will actually understand.
1. Vector vs Raster — What’s the Difference?
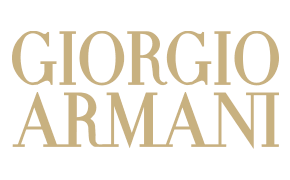
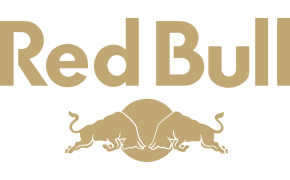
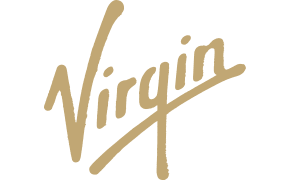
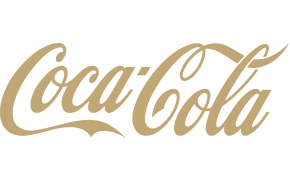
Vector artwork Think of it as mathematically perfect. It can scale from a business card to a billboard without losing quality. Used for: logos, icons, line drawings, text.
Common vector file types:
Raster artwork Made of pixels. When enlarged, it becomes blurry or “blocky.” Used for: photos, textures, gradients.
Common raster file types:
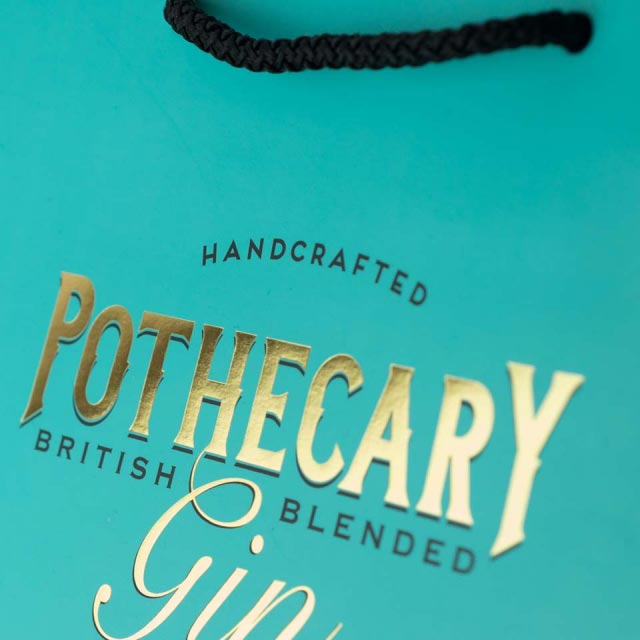
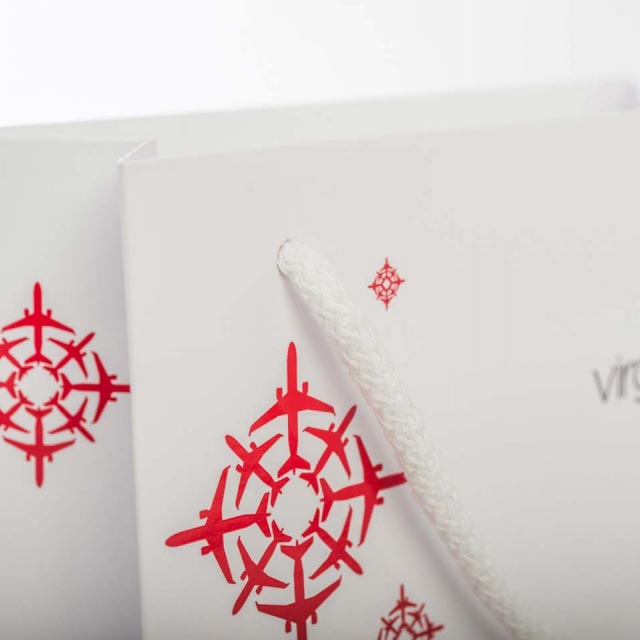
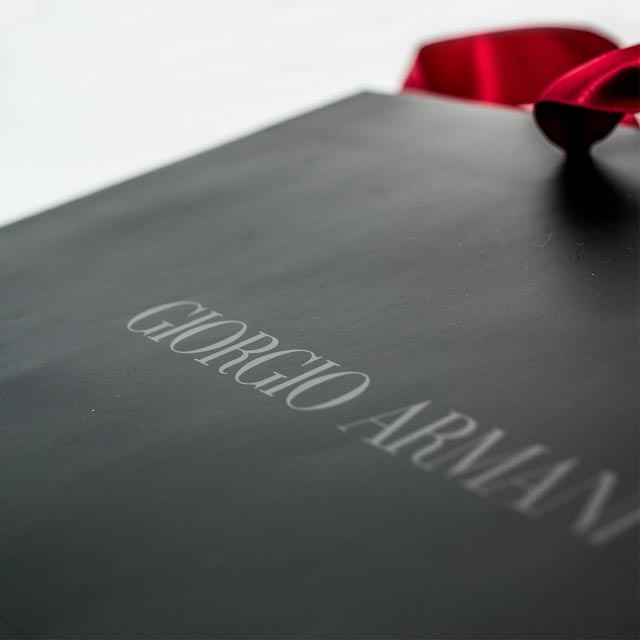
Simple rule: Logos must be vector. Photos must be high-resolution raster.
2. Resolution: What “High-Res” Actually Means
For print, artwork must be 300 dpi (dots per inch). Anything lower — especially screenshots or images saved from websites — will print soft or pixelated.
Examples of low-res files customers often send:
A logo copied from a website
A photo taken from WhatsApp
A tiny .jpg stretched to fit a large print area
A Photoshop file saved at 72 dpi (screen resolution)
What we need instead:
Original high-resolution photos
Vector logo files
Print-ready PDFs exported at 300 dpi
File Types: What’s Accepted (and What Isn’t)
Best for printing
.ai — ideal for logos and line art
.eps — universal vector format
.pdf — excellent if exported correctly
.tif — high?quality photo format
High-res .jpg — acceptable for photos
Not suitable:
Screenshots
Low-res .jpg
Images pulled from Google
Word documents
PowerPoint files
Low-res Photoshop files (.psd)
4. Colours: CMYK, RGB & Pantone
CMYK — required for printing
RGB — for screens only (will shift when printed)
Pantone (PMS) — solid, consistent spot colours used for brand accuracy
If your artwork is in RGB, we’ll convert it — but colours may change. Pantone colours give the most reliable brand consistency.
5. Bleed, Safe Area & Trim
To avoid white edges:
Bleed: add 3mm extra around the artwork
Safe area: keep text at least 5mm away from the edge
Trim line: where the product is cut
If you’re unsure, we can add bleed for you — just send the highest-quality file you have.
6. How to Send Your Artwork
Email for small files
WeTransfer / Dropbox / Google Drive for larger files
Avoid sending images through WhatsApp or Messenger (they compress heavily)
7. If You Don’t Have the Right File
Don’t worry — this happens all the time.
We can often:
Recreate your logo in vector format
Clean up low-res artwork
Adjust colours for print
Add bleed and trim marks
Prepare a fully print-ready PDF
Just send us what you have, and we’ll guide you from there.